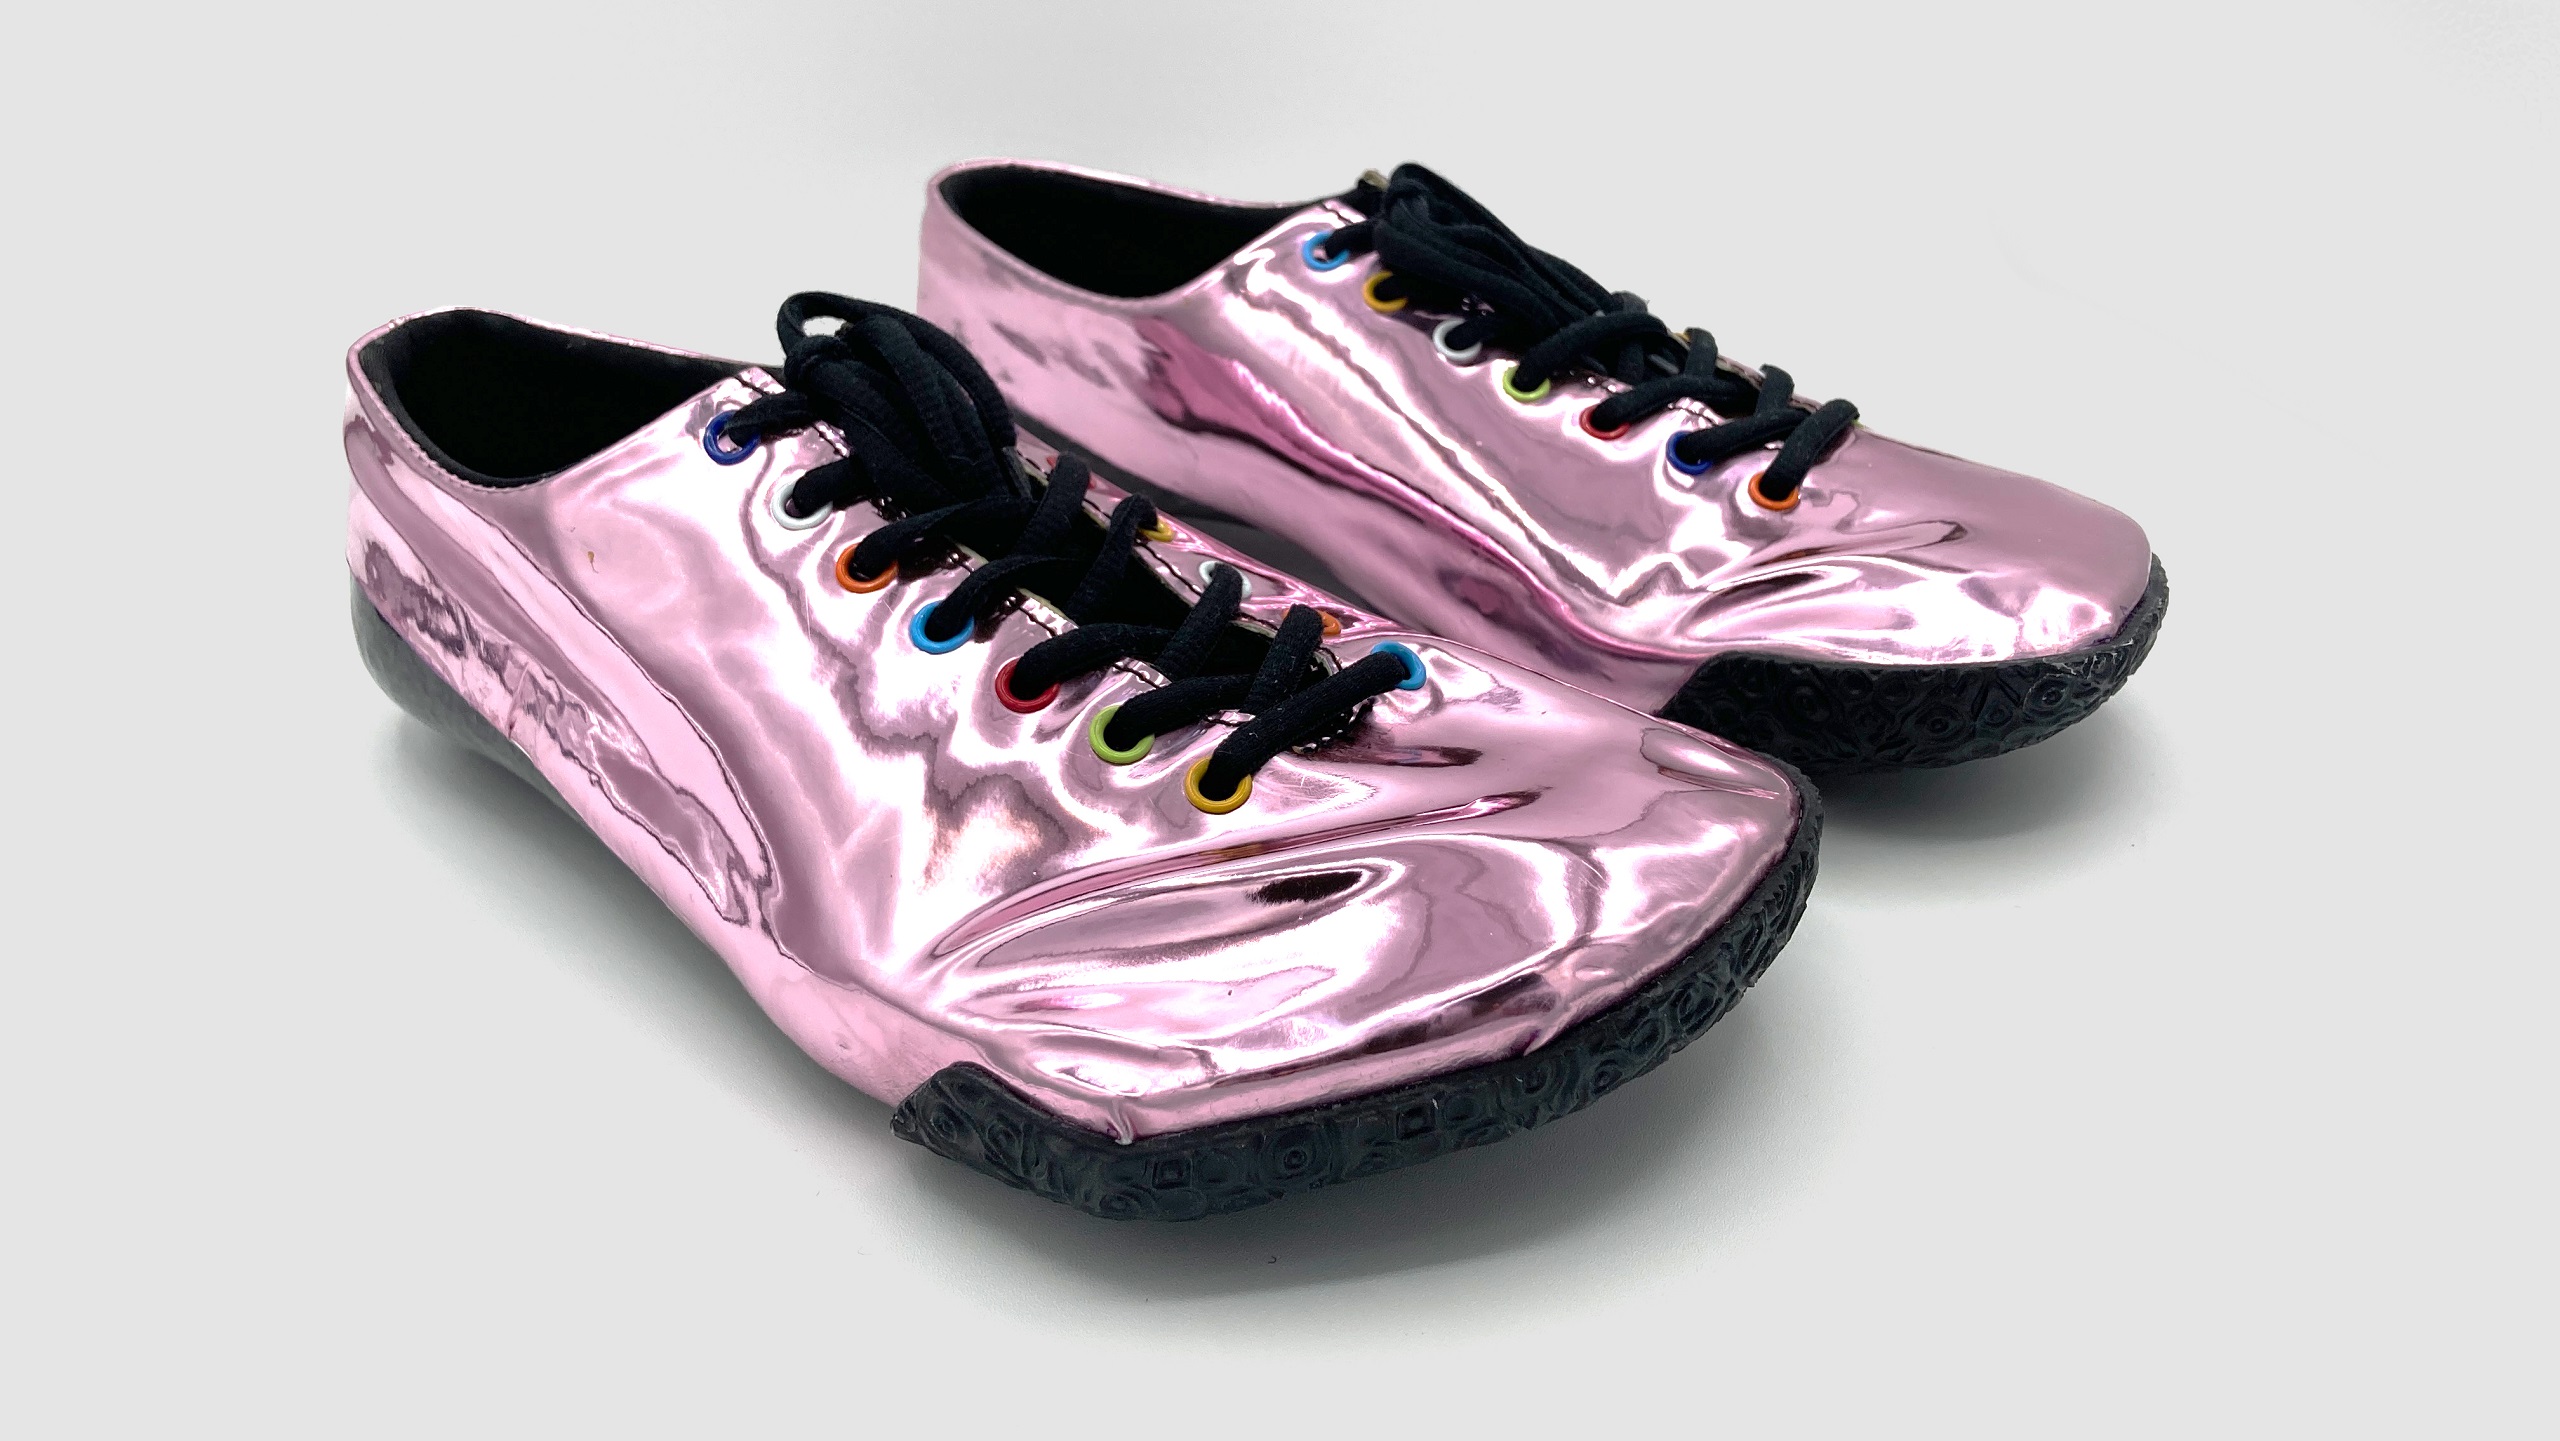
Designing a custom composite cycling shoe
Sherpa Design presents an innovative process to make a custom composite cycling shoe utilizing 3D printing. This white paper offers an exclusive glimpse into our groundbreaking product creation journey in 3D shoe design, emphasizing our diverse capabilities in design, 3D scanning, 3D printing, advanced NX CAD, and more.
At the heart of this innovation lies the extraordinary potential of our Carbon 3D printing services, with a focus on applications in the realm of custom footwear. Manufacturing custom cycling shoes is typically a manual process that relies on manual labor and physical record keeping. With our use of digitization and additive manufacturing, we condensed the design and manufacturing process to a few weeks.
Why make a custom cycling shoe?
Commercially available shoes are often designed for the masses and for ease of manufacturing.
Like most athletes, Connor Shimamoto, Sherpa Design’s Additive Manufacturing Manager, has feet that fall outside of the “average” shape and has difficulty finding comfortable shoes. He often sizes up to compensate for lack of width. Improper fit leads to discomfort and negatively impacts performance.

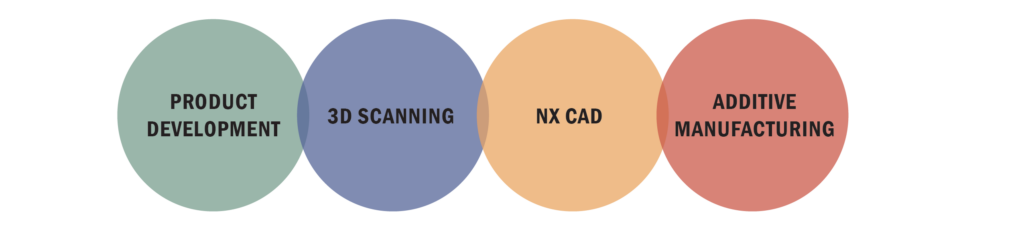
Leveraging Our Toolsets
Designing and manufacturing a custom composite cycling shoe was a great way to leverage many of Sherpa Design’s current tools and skillsets. It was an opportunity to learn new skills such as carbon fiber manufacturing and footwear manufacturing.
Research footwear
Making an entire shoe from the ground up was completely new to us. Before starting any design work, we researched custom footwear design, cycling shoe anatomy, and prepreg carbon fiber manufacturing.
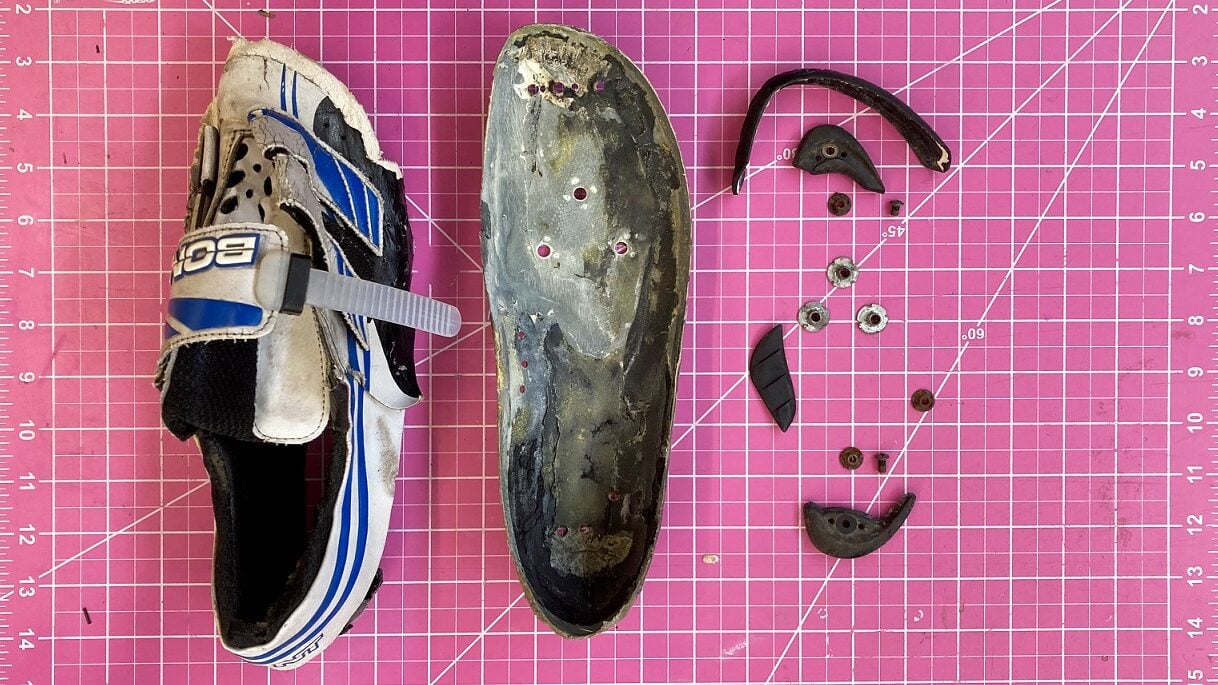 This composite cycling shoe was dissected to learn more about construction and materials.
Life Casting
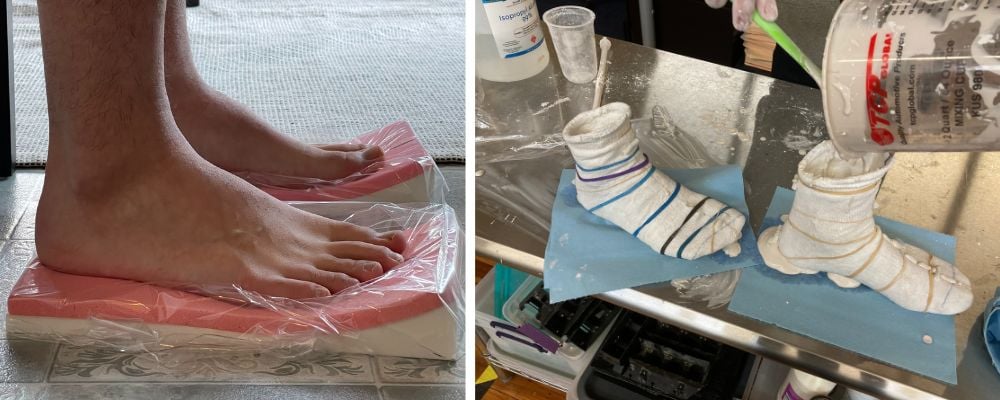
Connor’s feet were cast using polymer embedded casting socks. 3D printed blocks and memory foam helped keep the feet in a comfortable, partial weight bearing posture. The casting socks were filled with plaster to make foot model positives.
Digital Record Keeping
In-house 3D scanning served as record keeping between each stage of hand finishing the plaster foot models.
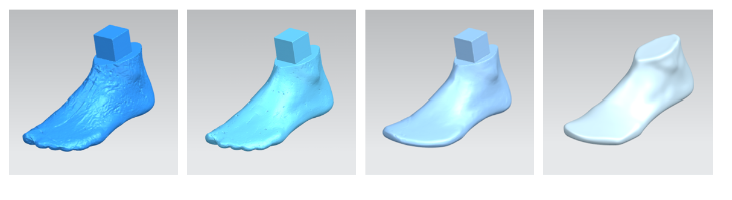
Manually sculpting the plaster casting into usable lasts was a slow process and presented a few challenges. Instead, we decided to use NX to digitally sculpt the scan data into unique lasts for the left and right foot.
MANUAL PLASTER SCULPTING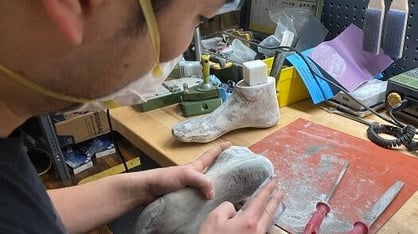
- Slow
- Lack of control
- Lack of continuity
- Messy process
- Challenging to repeat
NX DIGITAL SCULPTING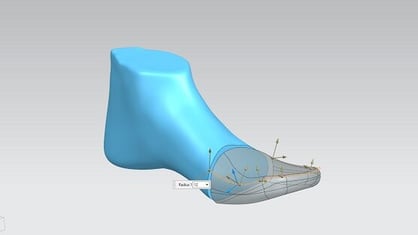
- Fast
- Great control
- Partially parametric
- Zero mess
- Repeatable
Convergent Modeling
NX Convergent modeling allowed us to work seamlessly between facet and B-Rep geometry. Most features made between the two geometry types are editable in the feature tree.

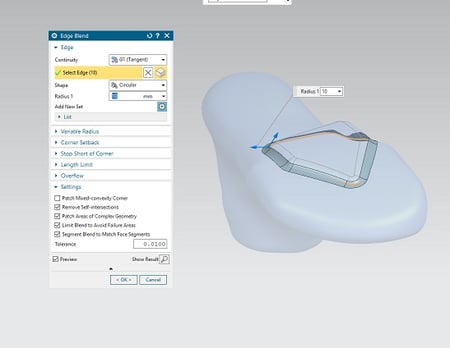 Placing an editable fillet between a facet body and B-Rep body.
Composite Sole Tool Design
Initial Draft Analysis showed that it would be impossible to pull the composite sole off a single part mold. To get around these overhangs, we decide to design a multi-part tool. Each part would have a unique draw direction.
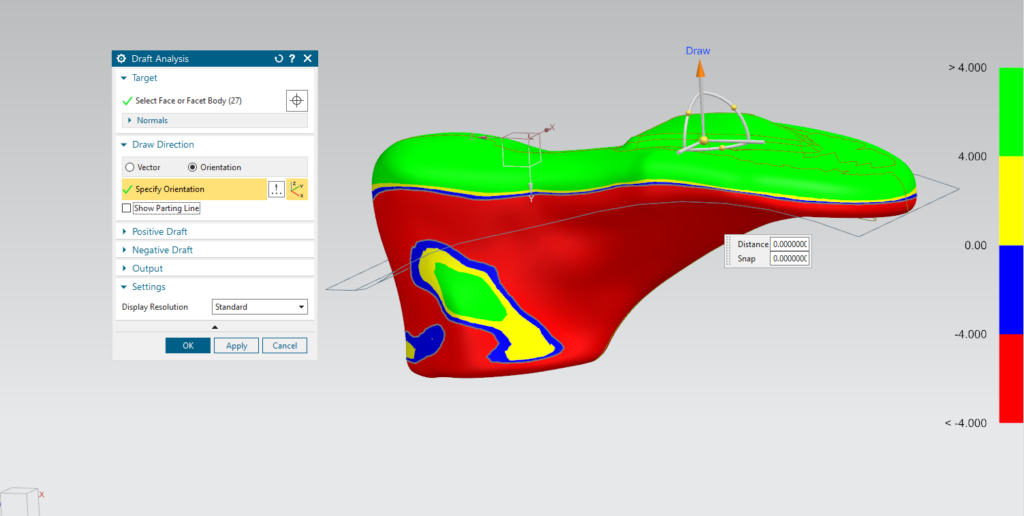
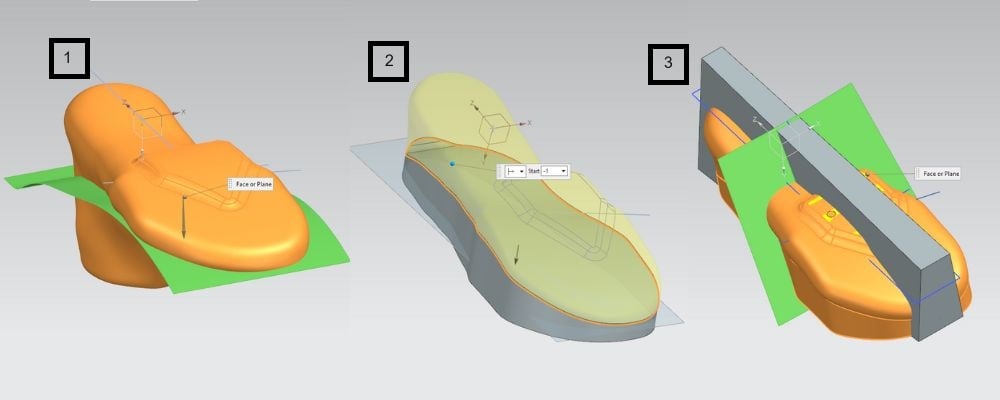
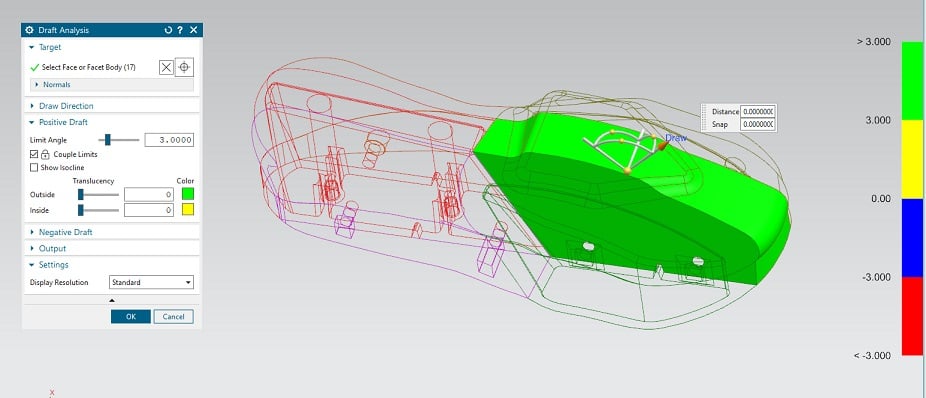
We used draft analysis to validate the six parts of the mold with unique pull vectors.
Material Selection
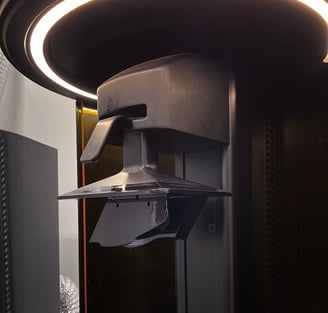
LAMINATING MOLD: EPX 82
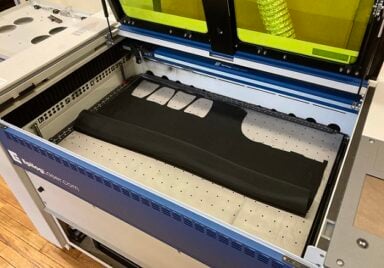
3D printing in shoe manufacturing can be a challenge without the right platform. Carbon printing enabled us to manufacture the tools quickly and affordably. The current revision was printed with EPX 82 on a Carbon M2 printer.
- 3D printing was a fast alternative to CNC machining.
- Carbon 3D printing has a smooth, non-porous surface finish allowing us to pull the part off with ease.
- EPX 82 heat deflection temperature withstood the minimum temperature requirement for baking the prepreg carbon fiber.
- EPX 82 has great chemical compatibility. It did not absorb the petroleum based mold wax or PVA mold release.
The Henkel Loctite 3D IND 147 is being evaluated for the next revision of the tool. The higher HDT of the IND 147 would allow us to bake the prepreg carbon fiber for a shorter duration at a higher temperature.
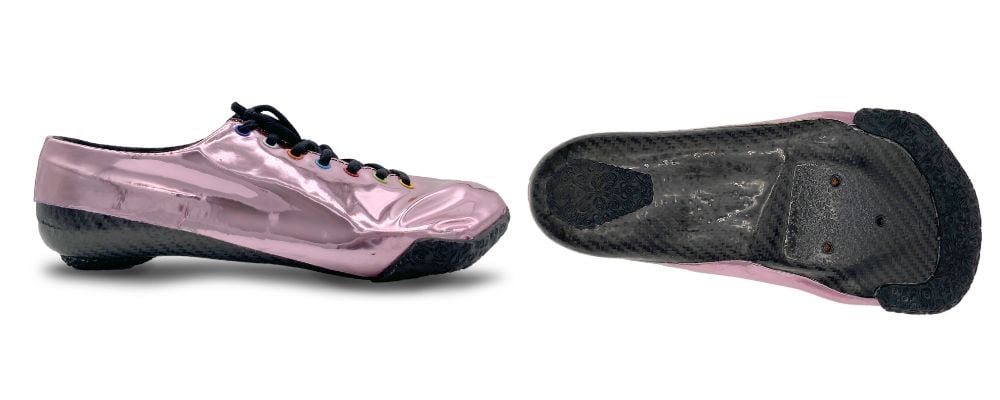
RIGID SOLE: PREPREG CARBON FIBER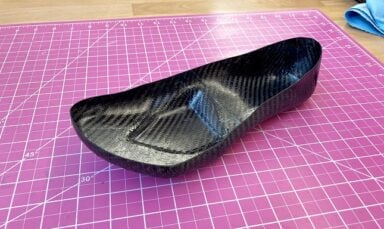
The full length of the rigid sole was constructed with prepreg 3k, 2×2 twill weave carbon fiber.
A prepreg layup is cleaner and more consistent compared to wet layup.
The toe and heel outsole pads were Carbon 3D printed with EPU 40.

- 3D printing saved on labor and time compared to urethane casting
- Carbon 3D printing was capable of creating deep textures on all cosmetic surfaces. Additional texture designs did not increase costs.
Print on demand shoes
Upper Prototyping
 Mesh panels laser cut in-house Mesh panels laser cut in-house |
The upper pattern design started with traditional taping and sketching. Panels were individually cut and flatbed scanned.
We used Rhino to make digital copies of the flat patterns. Multiple revisions were made to compensate for the expansion and compression rates of different fabrics.
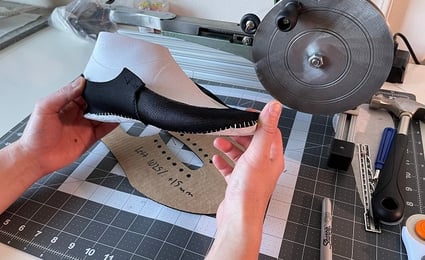 Uppers patterns fitted to FDM printed lasts Uppers patterns fitted to FDM printed lasts |
Our in-house Epilog Fusion Pro laser cutter made mesh fabric cutting fast and accurate. Cardboard stencils were cut for materials that were incompatible with the laser cutter.
The panels of fabric were stitched by hand or by using a hand-crank cobbler sewing machine.
Carbon Fiber Manufacturing
|
|
The 6 parts of the tool were fastened to each other with shoulder screws then fastened to a slotted plate.
Prepreg 2×2 carbon fiber was trimmed by hand and laid over the tool.
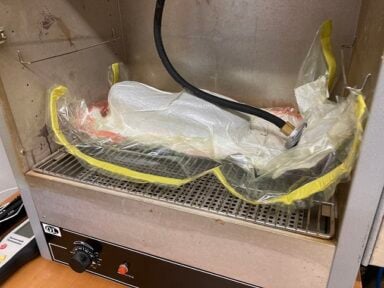
The tool was vacuum bagged and placed into a thermal oven.
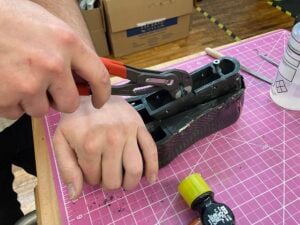 Removal of the multipart tool Removal of the multipart tool |
The first prototype had 4x plys laid in alternating 45°. It was too flexy, and the cleat holes were difficult to drill out cleanly.
The second prototype had 5x plys plus 1x ply over the cleat holes laid in alternating 45°.
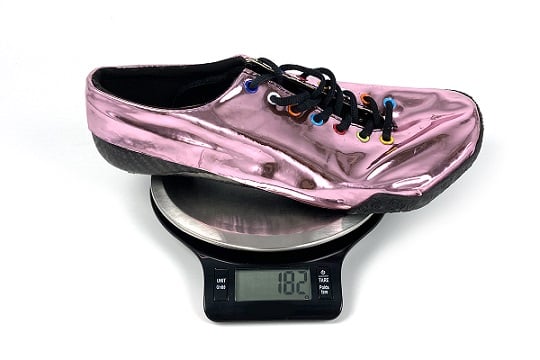
First Prototype
An initial prototype was built to validate fit and assembly process.
Second Prototype
The second prototype was built with alterations to the upper and more layers in the carbon fiber sole.

Mass manufactured shoe with an over-the-counter orthotic.
Conclusion
The project was a success thanks to the wide variety of services at Sherpa Design. Learning to make a shoe from the ground up was a daunting task, but with our talented engineers and access to in-house tools like our Epilog laser cutter and Carbon 3D printers, we were able to push through challenges rather than compromising.
Connor thinks these are the single best investment out of all his cycling gear. The shoes’ comfort was far beyond anything he could achieve through off-the-shelf products. He used the shoes daily for training and racing during his 2023 road racing season.
What is next?
Even though a successful pair of shoes was built, there is much more to explore.
- Explore Sub-D modeling to reduce file sizes and speed up computation time.
- Switch our carbon fiber manufacturing tools from EPX 82 to Henkel Loctite 3843 HDT60.
- Source higher quality footwear specific fabrics.
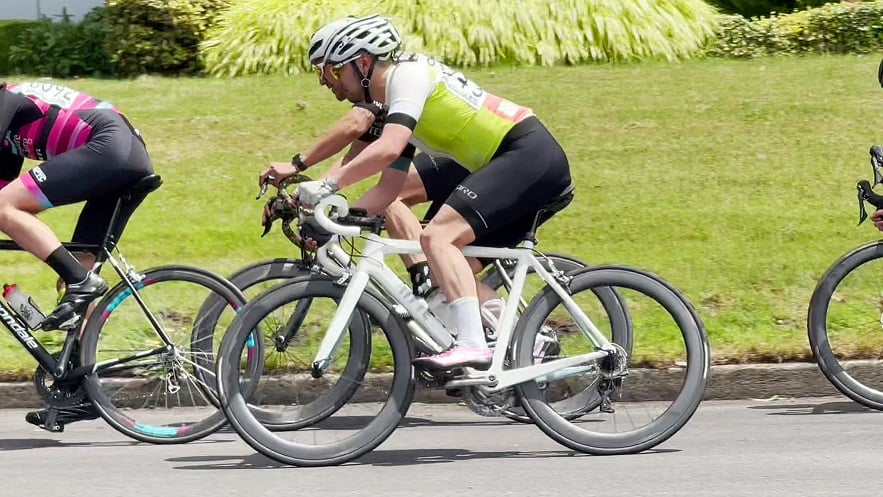
The custom shoes in use during a local criterium race.
Designing a 3D printed custom Cycling
